Building Linux from Scratch: A Monologue
In a cruise of learning the insides of a linux machine.
Background
The first time I installed and started using linux as a daily driver was back in 2020, when I was still a college freshman. No one can look back at those days of the COVID-19 pandemic with a heart full of pleasant feelings, but thankfully, I was able to immerse myself into my the then newfound passion of computers which made the isolation more tolerable. Not too long after I learned the fundamentals of programming, I decided to try linux.
The reason why I was so eager to try linux wasn't entirely due to curiosity. Half of the credit goes to windows for giving me a terrible user experience even back in those windows 10 days. Let's not even talk about the current state. Regardless, the first distribution of linux I decided to install was Ubuntu, like many other people.
The next couple of years after that was quite identical to the typical linux newbie behavior. Distro hopping, DE hopping, trying out a TWM for the first time, getting into ricing, followed by diving even deeper into the rabbit hole by exploring more intricate components of the operating system like the init system, bootloader, and so on. After I was done with all of that, I settled down to ArchLinux that I still daily drive to this day. Because I feel so dang comfortable with it. I could praise ArchLinux all day, but let's not get into that.
A name that I should mention here is Gentoo. There was a time I decided to daily drive it solely because I was so impressed by their philosophy, except that didn't last more than a month because my specs back then weren't good enough to comfortably compile my whole system once in a while. Or maybe it was a patience issue.
Now, being a 3rd year undergrad student in CSE, it was supposedly a well-timed decision to learn and build a working linux system from the inside out. That is where Linux from Scratch (LFS) comes in.
Understanding the Philosophy of LFS
The breakdown in the LFS page suffices as an explanation, but to summarize in simple terms:
- LFS is essentially a book written by Gerard Beekmans on a project of building a custom linux system from raw source code.
- LFS teaches the internals of a linux system, such as its directory structure, dependency management, and much more.
- Following LFS results in a very compact linux system, which can be further customized as the user's needs. It's not difficult to get an LFS system installed under
500MB. - LFS only containing the barebones means more power for the user to add on top it as needed.
- Compiling an entire system from source comes with certain benefits, such as tweaking every software and having the absolute lowest level of control over your machine. The user can add/remove specific support for certain software, apply security patches, and audit essentially everything. It is no longer necessary to wait for someone else to fix a security hole in a package that you're using.
- Lastly, the pleasure and satisfaction that comes with having the control of your system in every aspect is a magnificent feeling.
Brief Overview of the Process
Since there is no point in covering every command I ran on the installation of LFS, I will try to make it more like a montage.
The first thing I did was start up QEMU, the best virtualizer out there.
$ qemu-img create -f qcow2 /mnt/data/VM/lfs.img 100G
$ qemu-system-x86_64 \
    -enable-kvm \
    -cdrom /mnt/data/ISO/livegui-amd64-20260215T164556Z.iso \
    -boot menu=on \
    -drive file=/mnt/data/VM/lfs.img \
    -m 8G \
    -cpu host \
    -smp 6 \
    -vga virtio \
    -display sdl,gl=on \
    -netdev user,id=net0,hostfwd=tcp::2222-:22 \
    -device virtio-net-pci,netdev=net0
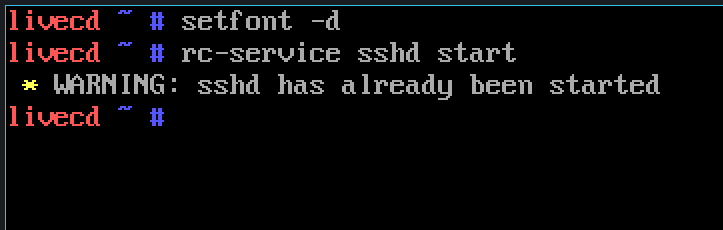
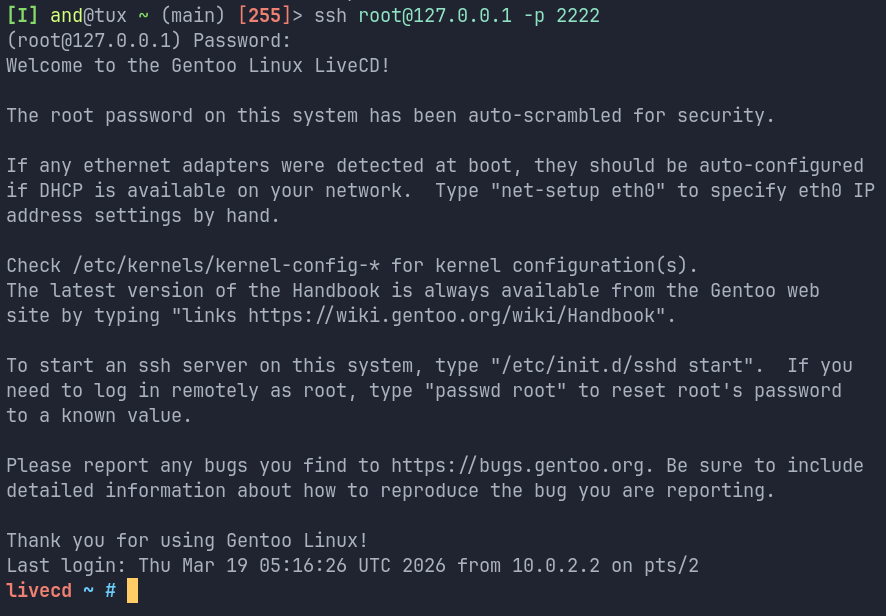
These two commands essentially create a virtual machine image and boot it up with the Gentoo LiveGUI ISO with manually set host system resources allocated. Another thing it does it that it sets up port forwarding so that I can later ssh into it from my host machine. This was simply done to ensure better interactivity. It's way less painful to work with a modern terminal than a tty.
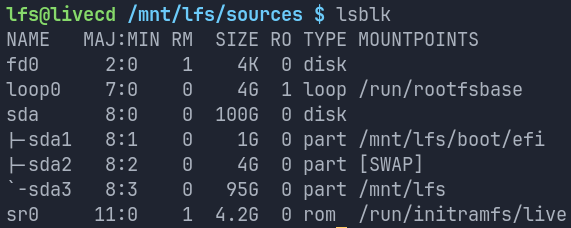
Next, I create, format, and mount the basic partition scheme for the LFS system to use. Typical stuff.
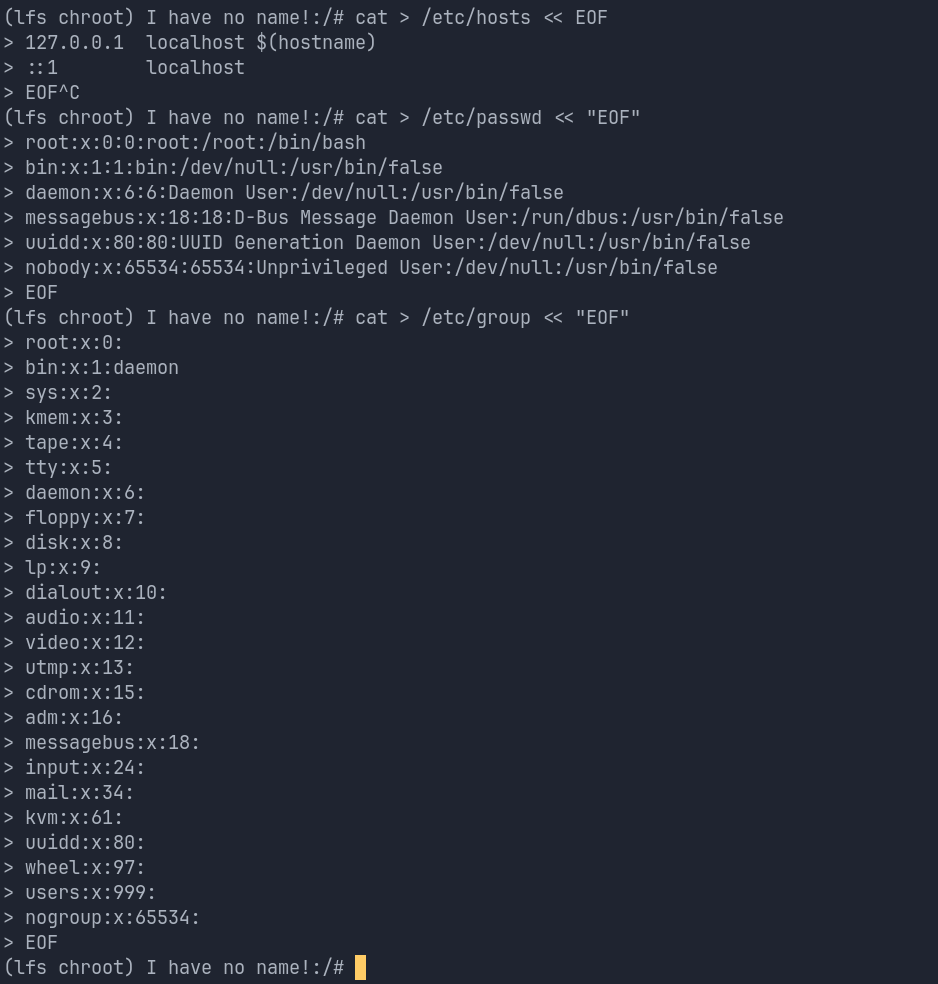
After that, I create a limited directory layout on the made partition. At this point, it's starting to look like the familiar structure of linux root. I also add the LFS user and set up the user's environment. This is primarily for the testing of the mountain of software we're about to compile from source.
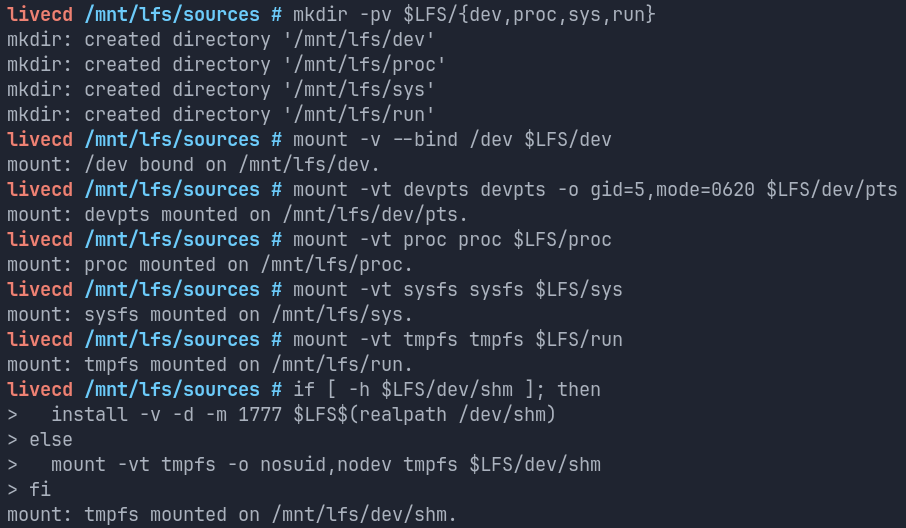
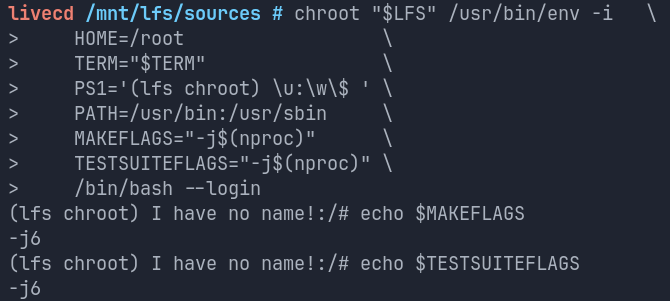
Now, it is time to compile. In this step, we compile the cross-toolchains and some temporary tools. This is the last part before chroot'ing. Some of these tools have to be compiled a couple of more times down the line. After we're done, we're ready to chroot! This part is always exciting.
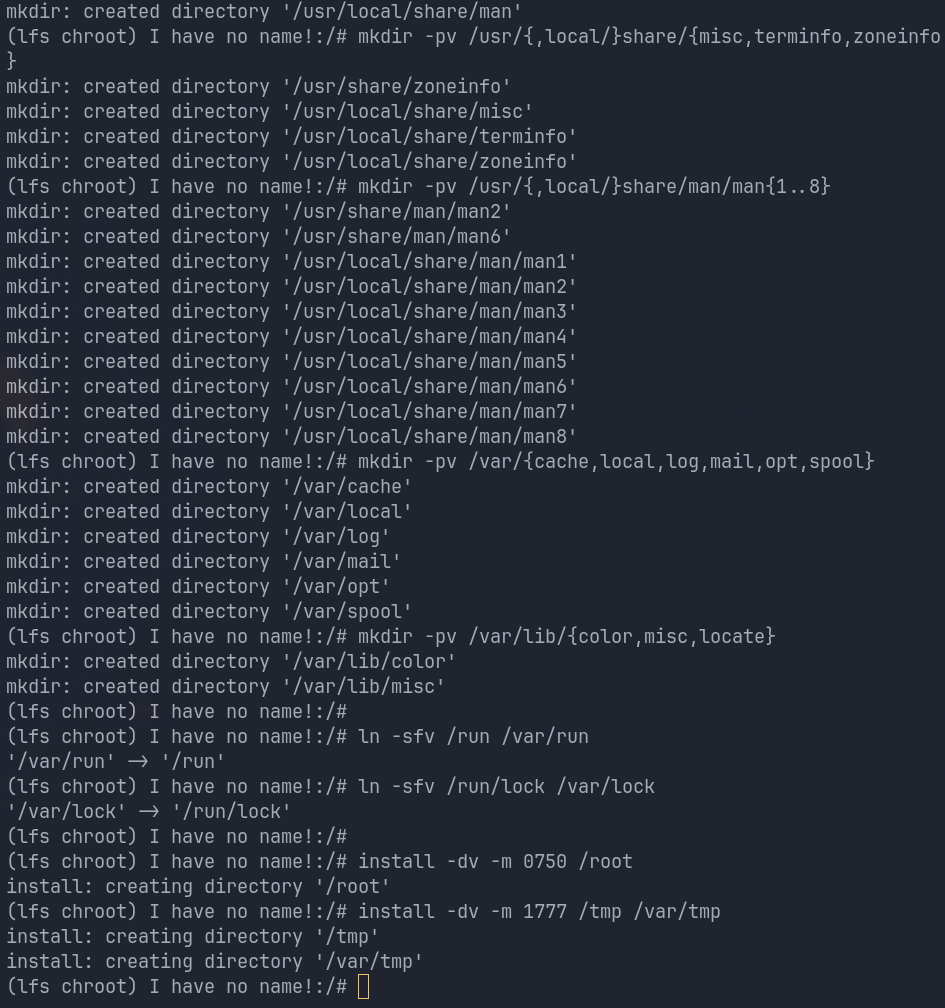
Now, it is time to create the full directory structure in the LFS system, because what we do from now on will retain in the resulting system.
After building and installing some additional temporary tools needed as dependencies, we're good to build and install a whole pile of software from coreutils to compilers to libraries. Chapter 8 is painstakingly time-consuming. It might be tempting to skip the tests of the built software, but I strongly advise against it, even though it increases the time taken significantly. If one thing breaks, it might trigger a chain reaction of other dependent software breaking. Better safe than sorry.
After making some standard system configurations, we've arrived at the kernel compilation part. The final boss, if you will. Building the kernel involved three steps:
- Configuration
- Compilation
- Installtion
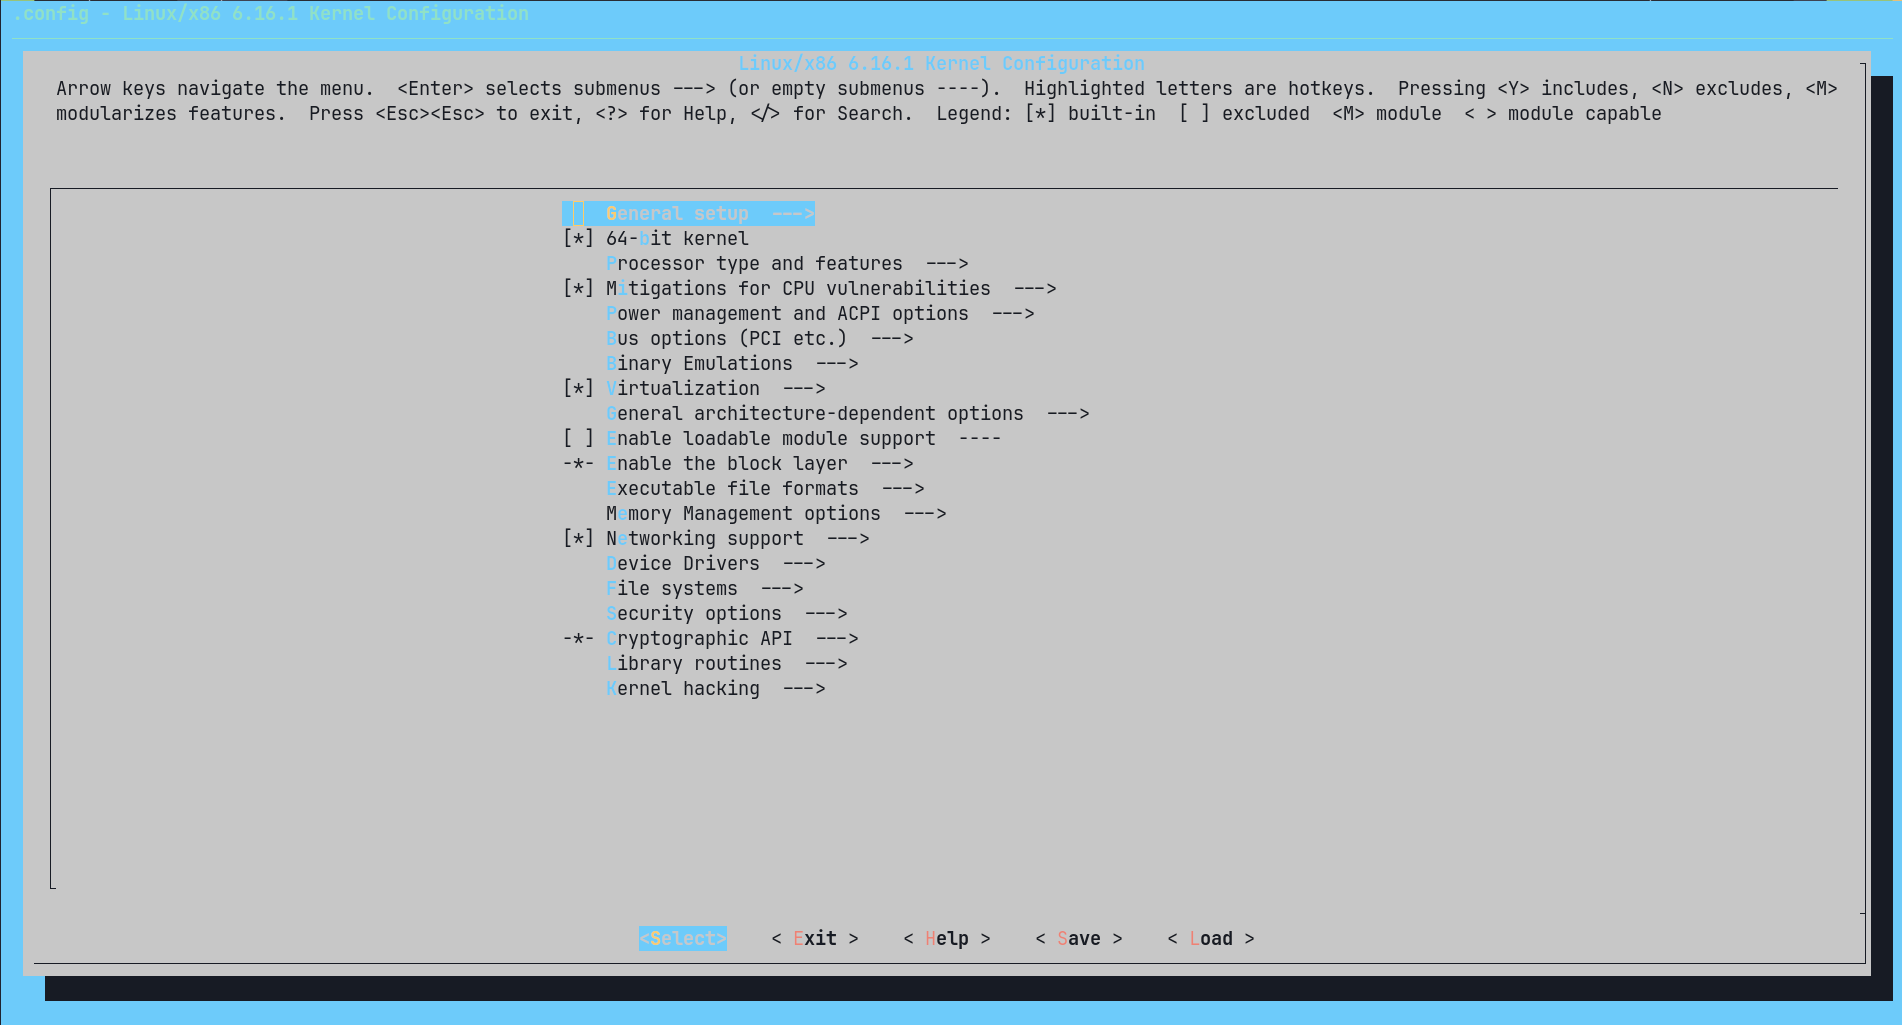
We can use the convenient make defconfig in order to start from a good state of base configuration, and tweak other features as needed. Note that a good understanding of your hardware is required for a well-configured kernel. The LFS book recommends these as a good base configuration:
General setup --->
  [ ] Compile the kernel with warnings as errors                        [WERROR]
  CPU/Task time and stats accounting --->
    [*] Pressure stall information tracking                                [PSI]
    [ ]   Require boot parameter to enable pressure stall information tracking
                                                     ...  [PSI_DEFAULT_DISABLED]
  < > Enable kernel headers through /sys/kernel/kheaders.tar.xz      [IKHEADERS]
  [*] Control Group support --->                                       [CGROUPS]
    [*] Memory controller                                                [MEMCG]
  [ ] Configure standard kernel features (expert users) --->            [EXPERT]

Processor type and features --->
  [*] Build a relocatable kernel                                   [RELOCATABLE]
  [*]   Randomize the address of the kernel image (KASLR)       [RANDOMIZE_BASE]

General architecture-dependent options --->
  [*] Stack Protector buffer overflow detection                 [STACKPROTECTOR]
  [*]   Strong Stack Protector                           [STACKPROTECTOR_STRONG]

Device Drivers --->
  Generic Driver Options --->
    [ ] Support for uevent helper                                [UEVENT_HELPER]
    [*] Maintain a devtmpfs filesystem to mount at /dev               [DEVTMPFS]
    [*]   Automount devtmpfs at /dev, after the kernel mounted the rootfs
                                                           ...  [DEVTMPFS_MOUNT]
  Firmware Drivers --->
    [*] Mark VGA/VBE/EFI FB as generic system framebuffer       [SYSFB_SIMPLEFB]
  Graphics support --->
    <*>    Direct Rendering Manager (XFree86 4.1.0 and higher DRI support) --->
                                                                      ...  [DRM]
    [*]    Display a user-friendly message when a kernel panic occurs
                                                                ...  [DRM_PANIC]
    (kmsg)   Panic screen formatter                           [DRM_PANIC_SCREEN]
    Supported DRM clients --->
      [*] Enable legacy fbdev support for your modesetting driver
                                                      ...  [DRM_FBDEV_EMULATION]
    Drivers for system framebuffers --->
      <*> Simple framebuffer driver                              [DRM_SIMPLEDRM]
    Console display driver support --->
      [*] Framebuffer Console support                      [FRAMEBUFFER_CONSOLE]
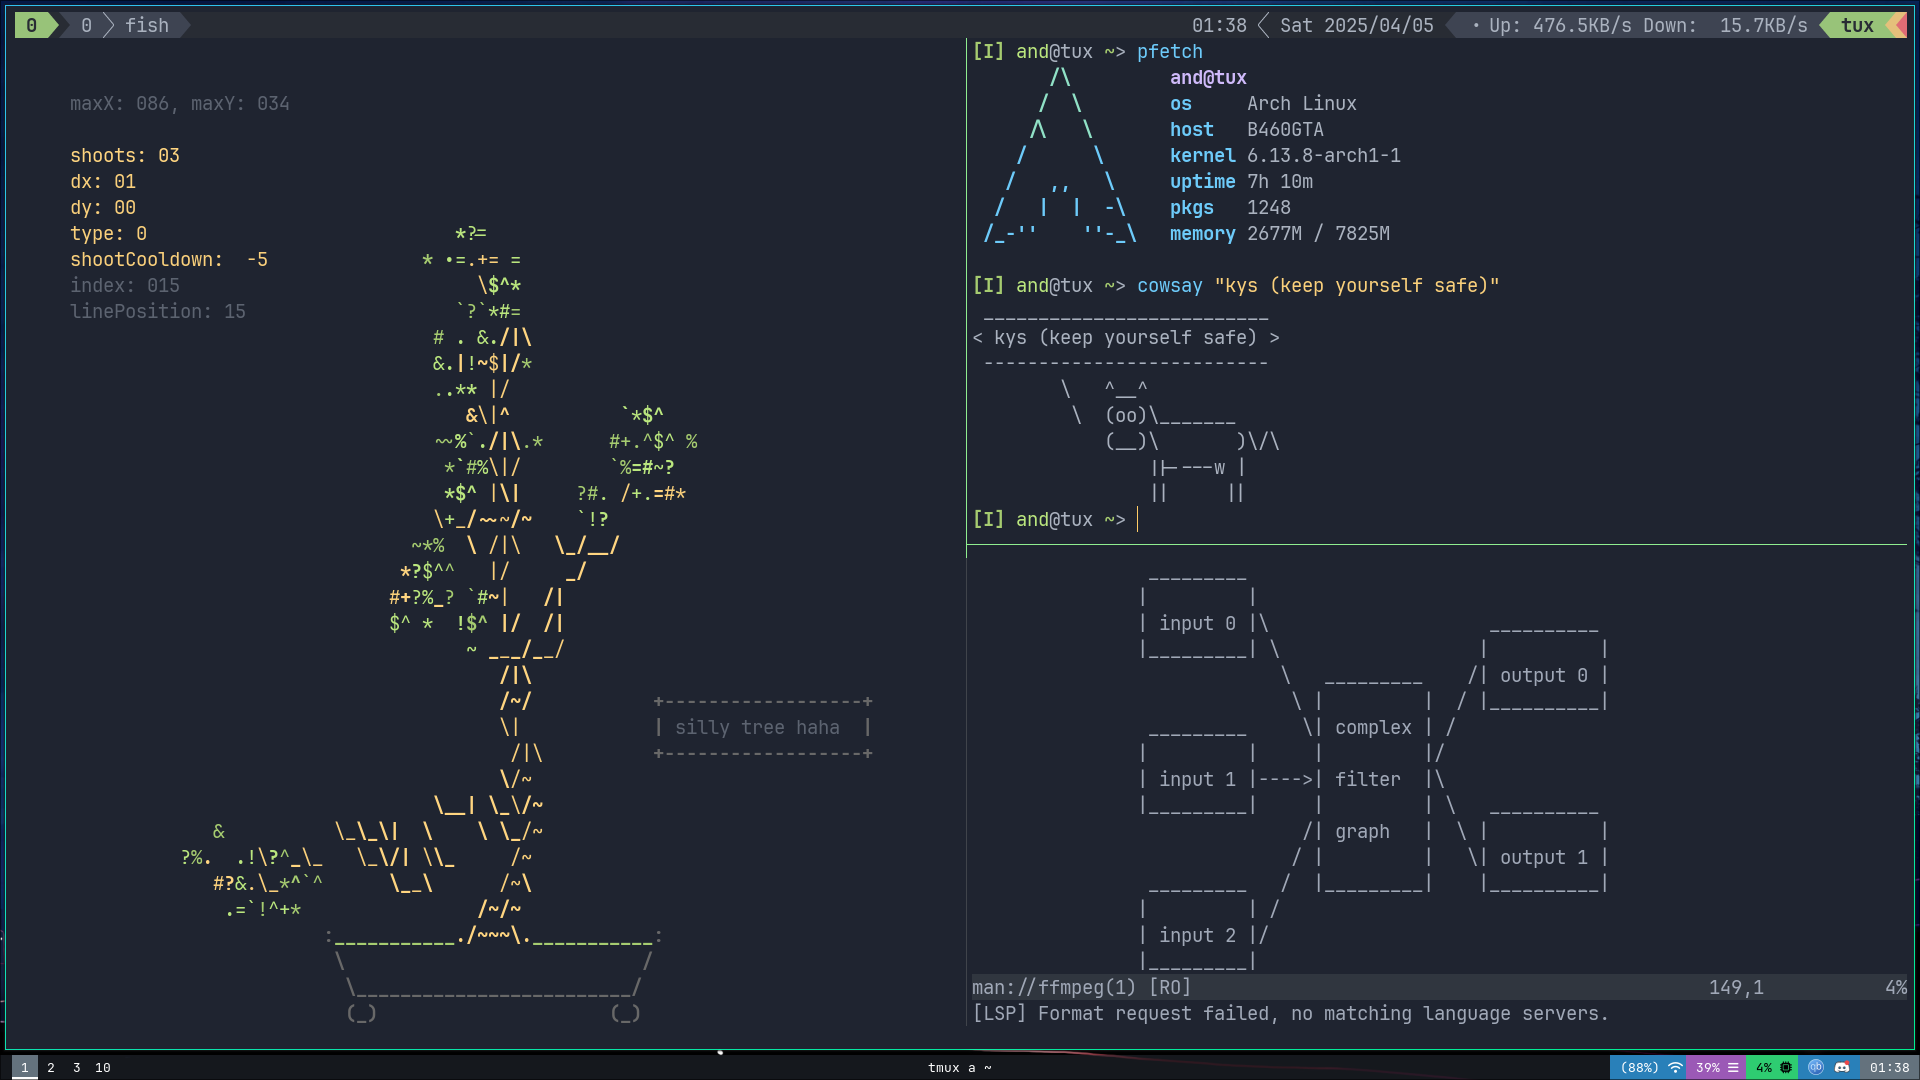
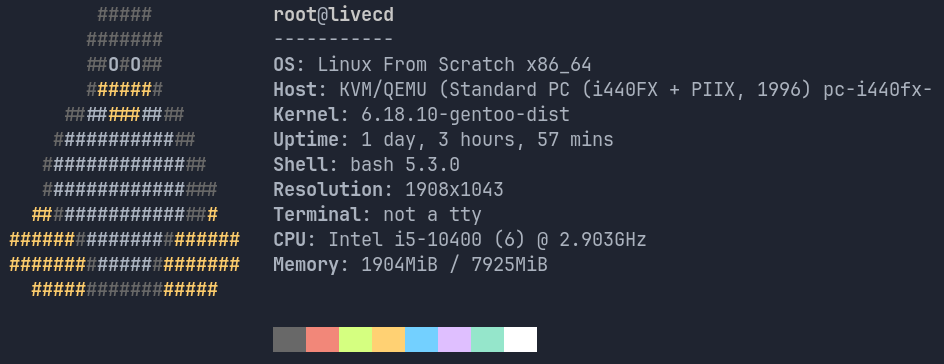
Going forward, all there is left is setting up a bootloader and rebooting into the newly built LFS system. Let us wrap up with an obligatory neofetch.
Conclusion
LFS was a learning opportunity, but above all, it was quite satisfactory despite the hardships. I plan on trying BLFS at some point in the future as a follow up, but my brain is fried enough for the time being.
Random xkcd meme.